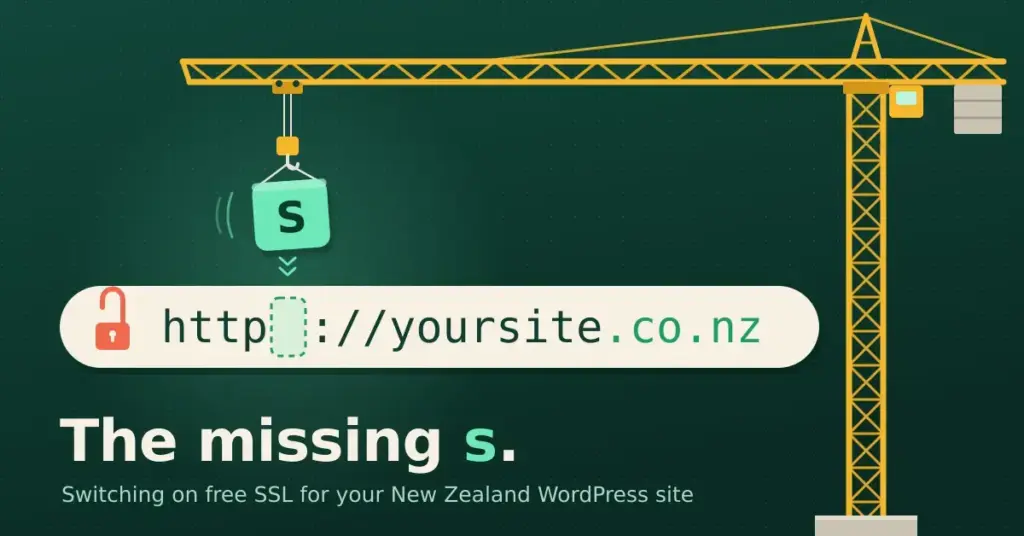
SSL is what puts the padlock in your browser’s address bar and turns “http” into “https”. It encrypts the data moving between your visitors and your site, and in 2026 it is not optional — modern WordPress requires it, browsers flag sites without it as “Not secure”, and a certificate is free.
The good news is that enabling it is usually quick. This guide walks through it step by step for a New Zealand WordPress site. If you would first like to understand what SSL actually is, our what is SSL explainer covers the basics.
What you’ll need before you start
Not much. You need access to your hosting control panel and to your WordPress admin dashboard. Before making changes, take a backup of your site — it is a sensible habit before any change, and our security best practices guide explains why backups matter.
Most quality hosts now include a free SSL certificate and can set most of this up with a click. If yours does not offer free SSL in 2026, that is a reason to consider switching.
Enabling SSL, step by step
The process has five parts. On many hosts the first two are handled automatically, but it is worth understanding each.
First, get a certificate. Almost every reputable host offers a free certificate through Let’s Encrypt, usually in the control panel under a section like “SSL/TLS” or “Security”. Select your domain and issue the certificate. If your host does not automate this, they can usually do it for you on request.
Second, install and activate it. Again, most hosts apply the certificate automatically once issued. You are simply confirming it is active for your domain.
Third, switch WordPress to HTTPS. In your dashboard, go to Settings → General and make sure both the WordPress Address and Site Address use “https” rather than “http”. On many setups a plugin or host tool will handle this and redirect all traffic to the secure version for you.
Fourth, fix mixed content. After switching, some pages may still load images, scripts, or links over the old “http” — this is “mixed content”, and it can break the padlock. A plugin can update these references in bulk, or your host may fix them automatically.
Fifth, test. Visit your site, check the padlock appears on several pages, and confirm that typing the plain “http” address redirects to “https”.
Enable SSL: the five steps
- Get a certificate — issue a free Let’s Encrypt certificate in your host’s control panel (SSL/TLS or Security section).
- Install & activate it — usually automatic once issued; confirm it’s active for your domain.
- Switch WordPress to HTTPS — Settings → General: set WordPress Address and Site Address to “https”.
- Fix mixed content — update any images, scripts, or links still loading over “http”.
- Test — check the padlock on several pages and confirm “http” redirects to “https”.
Back up your site before you start. On many hosts, steps 1–2 (and often 3–4) are handled for you automatically.
Does SSL really help my Google ranking?
You will often see SSL described as a ranking boost. The honest version is more modest: HTTPS is a genuine but lightweight ranking signal, and Google has treated it as one for years. It is not a shortcut to the top of the results.
The bigger reasons to enable it are trust and function. Without HTTPS, browsers show visitors a “Not secure” warning that undermines confidence, and modern WordPress features and payment tools expect a secure connection. Enable SSL because your site needs it, not for an SEO edge that is real but small.
Troubleshooting common SSL problems
If something is not right after enabling SSL, it is usually one of a few familiar issues.
Common SSL problems — and fixes
| Symptom | Likely cause | Fix |
|---|---|---|
| Padlock missing / “Not secure” | Mixed content on the page | Update http references to https (plugin or host) |
| “http” doesn’t redirect | No forced-HTTPS redirect set | Enable “force HTTPS” in host or plugin |
| Too many redirects error | Conflicting HTTPS settings | Remove duplicate redirect rules; ask host |
| Certificate warning | Certificate not issued or expired | Re-issue in the control panel; check auto-renewal |
| Wrong address in dashboard | Site Address still set to http | Settings → General → set both to https |
If you get stuck, your host’s support is the fastest route — enabling SSL is one of the most routine things they handle. Our guide to fixing common hosting issues covers related problems, and the main WordPress hosting NZ hub links to the rest of the setup.
This article is general information to help you enable SSL, not specific technical advice. Hosting control panels differ, and steps change over time — check your host’s own documentation, and back up your site before making changes.
Reference sources
Frequently asked questions
Is SSL really free?
Yes. Reputable hosts provide a free certificate through Let’s Encrypt, and it renews automatically. You should not pay extra for basic SSL in 2026 — if a host charges for it, that is a reason to look elsewhere. Paid certificates exist for specialised needs, but most sites do not require them.
Do I need a plugin to enable SSL?
Often not. Many hosts apply the certificate and force HTTPS for you. A plugin can help with the WordPress-side switch and with fixing mixed content, but on a well-set-up host you may not need one at all. Check what your host automates before installing anything.
What is “mixed content” and why does it matter?
Mixed content is when a secure (HTTPS) page still loads some elements — images, scripts, or links — over insecure HTTP. It can remove the padlock or trigger browser warnings. Fixing it means updating those references to HTTPS, which a plugin or your host can usually do in bulk.
Will enabling SSL break my site?
It rarely causes lasting problems, but mixed-content warnings are common right after switching. That is why you take a backup first and test several pages afterwards. If something looks off, the fix is usually straightforward, and your host’s support can help quickly.
Does SSL improve my Google ranking?
Only slightly. HTTPS is a lightweight, long-standing ranking signal, not a major boost. The real reasons to enable it are avoiding the browser’s “Not secure” warning, protecting your visitors’ data, and meeting the requirements of modern WordPress and payment tools.
How do I know SSL is working?
Visit your site and look for the padlock icon in the address bar on several different pages. Then type your plain “http” address and confirm it redirects to “https”. If the padlock shows consistently and the redirect works, SSL is set up correctly.