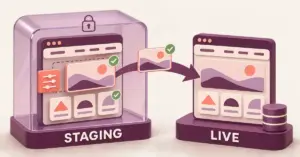
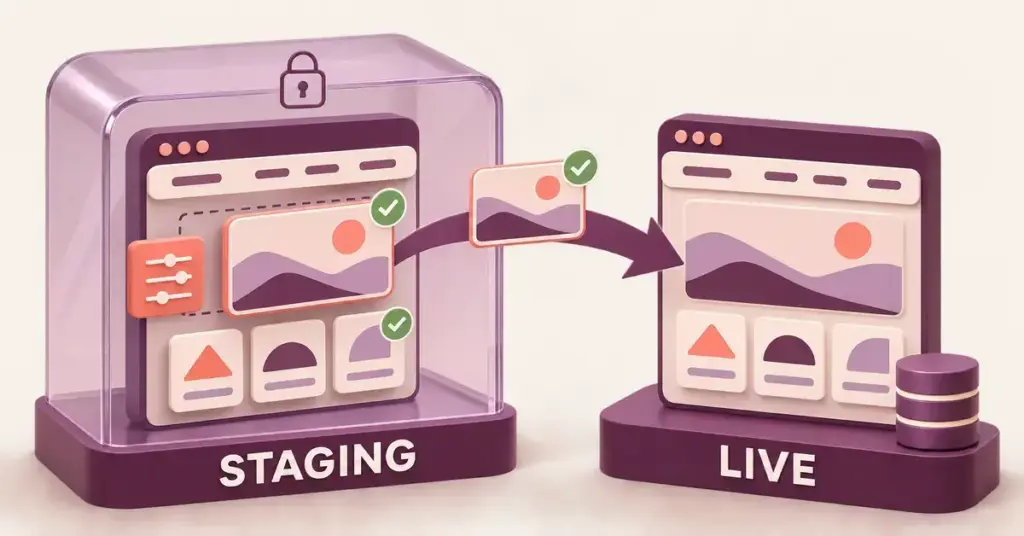
A staging site is a private copy of your live website where you can test updates, new plugins, theme changes and redesigns before any visitor sees them. If something breaks on staging, your real site keeps running normally. This guide explains what a staging site is and walks through three ways to create one – using your host’s built-in tool, a plugin, or a manual setup – then how to push your tested changes live without losing data.
What is a WordPress staging site?
Staging is a working duplicate of your site – the same files, database, theme and plugins – running on a separate web address that search engines and the public cannot reach. You make your changes there, confirm everything still works, and only then copy those changes back to the live site.
It helps to know how staging differs from two things people confuse it with:
- A backup is a saved snapshot you restore after something goes wrong. Staging is where you catch the problem before it ever reaches visitors. You want both.
- A local site runs on your own computer. Staging usually runs on the same hosting account as your live site, so it behaves more like the real environment (same PHP version, same server).
Common reasons to use one: testing a major WordPress or plugin update, trying a new theme, editing checkout or contact forms, or rebuilding a page without the risk of taking your business site offline in front of customers.
Before you start: take a full backup
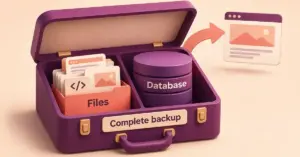
Whichever method you choose, make a complete backup of your live site first – both the files and the database. Creating a staging copy is normally safe, but pushing changes back to live overwrites real data, so a recent, verified backup is your safety net. Our guide on how to back up a WordPress website covers the manual, plugin and host methods in detail.
Staging works best as a regular habit rather than a one-off. If you keep a routine, add it to your WordPress maintenance checklist so you always test big changes before they go live.
Three ways to create a staging site
There is no single “correct” method – the right one depends on your host and how comfortable you are with technical steps. The table below compares the three main options, and the sections after it explain each one.
Staging methods compared
| Method | Best for | Difficulty | Push to live? |
|---|---|---|---|
| Host built-in tool (managed or cPanel) | Most site owners whose host offers it | Easiest – one click | Built in (one-click, overwrites live database) |
| Staging plugin (e.g. WP STAGING) | Hosts with no staging feature | Easy | Free version clones only; pushing back needs the Pro version |
| Manual subdomain setup | Advanced users wanting full control | Technical | Done by hand (copy files and database back) |
Method 1: Use your host’s built-in staging tool
This is the easiest and most reliable option because the staging copy is created on the same server as your live site, so it matches your real environment. If your host offers it, start here.
Managed WordPress hosting
Many managed WordPress hosts offer a one-click staging feature in the hosting dashboard. The general flow is:
- Log in to your hosting control panel and open your site’s management area.
- Find the Staging option and click to create a staging copy.
- Wait for the clone to finish, then open the staging URL and sign in with your normal WordPress admin details.
- Make and test your changes, then use the host’s “push” or “deploy” button to copy them back to live.
Whether staging is included and on which plan varies between hosts and changes often, so check your provider’s current documentation. If you are still choosing where to host, treat a built-in staging tool as one factor when you weigh up the best WordPress hosting in NZ.
cPanel hosting (Softaculous or WordPress Toolkit)
Many shared hosts run cPanel, which includes staging through the Softaculous App Installer or WordPress Toolkit. In Softaculous, open your WordPress installation under All Installations, click the staging icon, choose a subdomain or folder name for the copy, and confirm. When you are ready, the Push to Live button copies the staging version back. Our guide to cPanel for WordPress hosting explains where these tools sit in the panel.
One important caution: a Push to Live typically replaces your live database with the staging one. Any orders, comments, form entries or new posts added to the live site after you made the staging copy can be overwritten. More on how to avoid that below.
Method 2: Use a staging plugin
If your host has no staging feature, a plugin can clone your site from inside the WordPress dashboard. A widely used free option is WP STAGING. The basic steps:
- In your dashboard go to Plugins > Add New, search for WP STAGING, then install and activate it.
- Open the plugin, choose Create Staging Site, give the copy a name, and start the cloning process.
- When it finishes, open the staging URL (it is created as a subfolder of your domain) and log in with your existing credentials.
The key limitation to know before you rely on this: the free version of WP STAGING creates the clone, but pushing changes back to the live site is a paid (Pro) feature. On the free plan you can test freely on staging, but you then repeat the approved changes on the live site by hand, or upgrade to push automatically. Plan tiers and features change, so confirm the current terms on the plugin’s own site before buying.
Method 3: Create a staging site manually
If you want full control and no extra plugins, you can build a staging copy by hand. This method assumes you are comfortable with files and databases; if the terms below are new, Method 1 or 2 is safer. The outline is similar to a small site migration:
- Create a subdomain and a blank database. In your hosting control panel, add a subdomain (for example staging.yourdomain.nz) and a new, empty MySQL database.
- Copy the files. Duplicate all your live WordPress files into the subdomain’s folder using a file manager or FTP.
- Copy the database. Export your live database (via phpMyAdmin) and import it into the new staging database.
- Update the configuration. Edit the staging site’s wp-config.php so it connects to the new database.
- Fix the URLs. Run a search-and-replace across the staging database so links and media point to the staging address instead of your live domain.
Two things trip people up at the URL stage. First, do not use a plain SQL “find and replace” – WordPress stores some settings as serialized data (text that records its own length), and a raw replace corrupts it. Use a tool that understands this, such as the WP-CLI wp search-replace command or the free Better Search Replace plugin, and skip the guid column. Second, if your wp-config.php defines WP_HOME and WP_SITEURL, those values override the database, so check them too. Because this method is essentially a mini-migration, the same care applies as when migrating WordPress to an NZ host.
Keep your staging site private
A public staging copy can be indexed by Google as duplicate content or stumbled upon by visitors mid-edit. After you create one:
- On the staging site, go to Settings > Reading and tick Discourage search engines from indexing this site.
- Password-protect the staging directory, or use the host or plugin option that locks it behind a login.
The WP STAGING plugin automatically puts a login form in front of the staging site to keep out visitors and search engines. Built-in host staging tools vary in what they restrict, so confirm your copy is not publicly reachable.
What to test on staging
Staging is only useful if you actually exercise the site before pushing. Work through the things most likely to break:
- Run your WordPress core, theme and plugin updates and check the site still loads.
- Click through key pages and your navigation menus.
- Submit a contact form and, for an online shop, complete a test checkout.
- View the site on a phone as well as a desktop.
- Check that images and media still display.
How to push changes live safely
Pushing (or “deploying”) copies your tested staging changes back to the live site. Because a full database push can erase data added to the live site after you cloned it – orders, comments or form entries – this is the step to slow down on, so work through the checklist below before you click the button.
Pre-launch checklist
- Take a fresh, verified backup of the live site right before pushing.
- Confirm all updates, plugins, forms and (for shops) checkout work on staging.
- Check for orders, comments or form entries added to the live site since you cloned it.
- Push during a quiet period to limit data created in the gap.
- After the push, open the live site in a private browser window and re-test key pages and forms.
- Remove or keep the staging copy as your host or plugin recommends.
Sources
- WPBeginner – How to Create a Staging Environment for a WordPress Site
- WP STAGING – Copy Staging Site to Live Site (free vs Pro)
- WP STAGING – Login form in front of the staging site
- Softaculous – Create Staging (and Push to Live)
- WordPress Developer Resources – wp search-replace (serialized data)
- Better Search Replace – WordPress.org plugin (free, serialized-data safe)
- WordPress – Changing the Site URL (WP_HOME / WP_SITEURL)
- WordPress.org – Settings > Reading (search engine visibility)
- WordPress.org – WordPress Backups
Frequently Asked Questions
How do I delete a staging site when I’m finished?
Remove the copy rather than leaving it running. Host staging tools and plugins like WP STAGING have a delete or remove option in the same dashboard where you created it; for a manual setup, delete the subdomain, its files and its database. Clearing it frees disk space and closes off a stale copy of your site.
Can I push only the files and not the database?
Often, yes. Softaculous and similar tools let you choose what to push, so you can overwrite the files without replacing the live database. Pushing files only is the safer choice when your changes are to themes, plugins or templates and you want to keep the live database – with its newer orders and comments – untouched.
Do I need a staging site for small changes?
For a quick text edit, usually not. Staging earns its keep for anything that can break a site: major version updates, new or updated plugins, theme switches, and checkout or form changes. When in doubt, test it.
Do changes on my live site appear on staging automatically?
No. A staging site is a frozen copy taken at the moment you cloned it. Anything added to the live site afterwards – new posts, orders or comments – does not sync back to staging, which is exactly why a full database push can overwrite that newer data. Keep the gap between cloning and pushing short.
Can I create a staging site on shared hosting?
Yes. Many shared hosts include staging through cPanel’s Softaculous or WordPress Toolkit, and if yours does not, a plugin like WP STAGING can clone your site from the dashboard. A manual subdomain setup also works on most shared plans.